
Starting an apiary is a rewarding journey that blends environmental stewardship with a fascinating hobby. However, success depends on preparation before the first colony arrives. To start correctly, you need specialized protective gear, a suitable location, legal clearance, and a solid understanding of honey bee biology.
1. Legal Requirements and Neighborhood Relations
Before buying a single frame, you must verify that beekeeping is legal in your area. Laws vary significantly between municipalities and homeowners’ associations (HOAs).
Check Local Zoning Laws
Many cities have specific ordinances regarding the number of hives allowed per square foot of land. Some regions require apiary registration with the state or county department of agriculture. This registration often provides you with benefits, such as notifications if local farmers are spraying pesticides nearby.
Consult Your HOA
If you live in a managed community, review your covenants, conditions, and restrictions (CC&Rs). Some HOAs explicitly ban “livestock,” and while bees are often classified as such, you may need to advocate for their inclusion as pollinators.
Communicate with Neighbors
Proactive communication prevents future conflicts. Inform your immediate neighbors of your plans. Explain that honey bees are generally docile and only sting when the hive is threatened. Offering a free jar of honey at the end of the season is often an effective way to build goodwill.
2. Personal Safety and Health Considerations
Beekeeping involves a risk of stings, ranging from a minor annoyance to a life-threatening emergency.
Allergy Testing
Before investing in equipment, ensure no one in your household is severely allergic to bee venom. A standard local reaction (swelling and itching) is normal. However, systemic reactions like difficulty breathing or hives require immediate medical attention.
First Aid Supplies
Keep an “apiary first aid kit” nearby. This should include:
- Epinephrine Auto-Injector (EpiPen): Consult a physician to see if you should have one on hand.
- Antihistamines: To reduce swelling from standard stings.
- Sting Relief Wipes: To neutralize the scent of the alarm pheromone left by a sting.
3. Selecting the Ideal Hive Location
Where you place your bees determines their productivity and survival through winter.
Sunlight and Orientation
Bees are solar-powered. They need early morning sun to warm the hive and encourage foragers to start their day. Aim to face the hive entrance toward the South or Southeast.
Wind Protection and Drainage
Constant wind can chill a hive, forcing the bees to consume more winter stores to stay warm. Place hives near a fence or a natural treeline to act as a windbreak. Ensure the ground is level and well-drained to prevent moisture buildup, which can lead to fungal diseases like Chalkbrood.
Access to Water
Bees need water to regulate hive temperature and dilute honey for consumption. If a natural source isn’t within 500 feet, you must provide a dedicated waterer. A birdbath filled with stones (to prevent drowning) works perfectly.
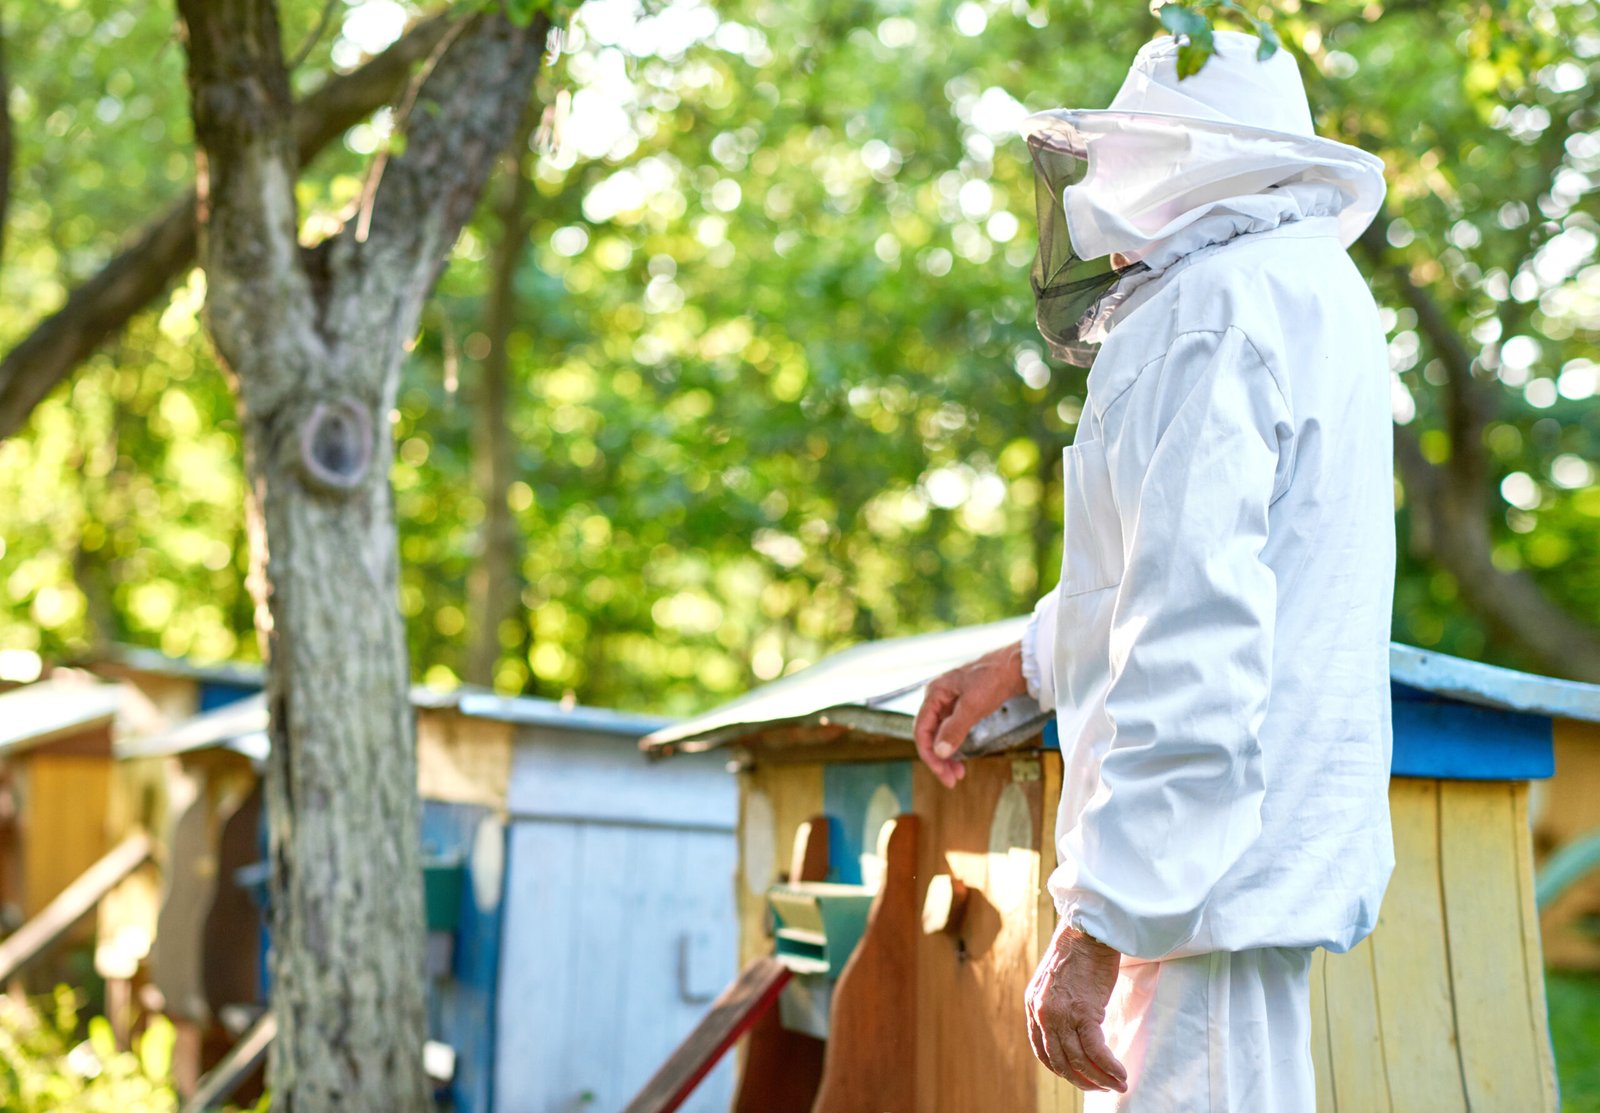
4. Essential Protective Gear
Never work in a hive without proper protection. Even the gentlest colony can become defensive during a “nectar dearth” or in poor weather.
The Bee Suit
A full-body suit is the gold standard for beginners. Look for “ventilated” suits made of multiple layers of mesh. These allow airflow while keeping the fabric thick enough that a bee’s stinger cannot reach your skin.
Veils and Helmets
The face and eyes are the most critical areas to protect. A fencing-style veil offers a wide field of vision and is less likely to collapse against your face than a round veil.
Gloves and Footwear
- Gloves: Goatskin or heavy-duty nitrile gloves are common. Goatskin provides more protection, while nitrile offers better manual dexterity.
- Boots: High-top boots that allow you to tuck your suit legs into them prevent bees from crawling up your legs.
5. Primary Beekeeping Tools
You cannot manage a hive with bare hands. These three tools are non-negotiable for every inspection.
The Smoker
A smoker is used to calm the bees. The cool smoke masks the “alarm pheromones” bees release when they feel threatened. It also triggers a survival instinct where bees gorge on honey, making them lethargic and less likely to sting.
The Hive Tool
Bees use “propolis” (bee glue) to seal every crack in the hive. A hive tool is a metal pry bar used to separate boxes and frames. The “J-hook” style is highly recommended for lifting frames without damaging the delicate wax.
The Bee Brush
Occasionally, you need to move bees off a frame to inspect the brood or harvest honey. A soft-bristled bee brush allows you to sweep them away without injuring or agitating them gently.
6. Choosing a Hive System
There are several hive designs, but most beginners start with the Langstroth system due to its standardized parts and ease of management.
The Langstroth Hive
This is the vertical “stacking box” system seen in most apiaries. It relies on “bee space,” a specific measurement (between 1/4 and 3/8 of an inch) that bees leave open for movement.
- Deep Boxes: Used for the “brood chamber” where the queen lays eggs.
- Honey Supers: Shorter boxes placed on top for honey storage.
- Frames and Foundation: Removable inserts that hold the wax comb.
Alternative Systems
- Top Bar Hives: A horizontal system that doesn’t require heavy lifting. It allows for more “natural” comb building but yields less honey.
- Flow Hives: A specialized Langstroth modification that allows honey to be harvested via a tap without opening the hive.
7. Sourcing Your Honey Bees
You need to order your bees months before the spring season begins. Suppliers usually sell out by February or March.
Package Bees
A “package” is a screened box containing roughly 3 pounds of bees (about 10,000 individuals) and a caged queen. They are cheaper and easier to ship but have a higher failure rate because they must build all their components from scratch.
Nucleus Colonies (Nucs)
A “nuc” is a mini-colony consisting of five established frames. These frames contain a laying queen, brood in various stages, and food stores. Nucs have a much higher success rate for beginners because the colony is already a functioning unit.
Catching a Swarm
This is the most cost-effective method, but it requires experience. Local beekeeping associations often have “swarm lists” you can join to be notified when a wild colony needs a new home.
What You Need Before Keeping Bees: The Educational Foundation
Equipment is useless if you do not understand the “language” of the hive.
Join a Local Club
Beekeeping is local. The timing of blooms and the types of pests you face depend entirely on your geography. A local mentor can provide hands-on training and advice specific to your climate.
Recommended Reading
Before your bees arrive, read at least two comprehensive books. The Beekeeper’s Handbook and Beekeeping for Dummies are industry staples. You should also familiarize yourself with the Honey Bee Health Coalition for the latest on pest management.
Understanding the Varroa Mite
The Varroa destructor mite is the leading cause of colony collapse. You must have a plan for testing and treating these parasites before your bees arrive. Ignoring mites is the most common reason new beekeepers lose their hives within the first year.
Estimated Startup Costs
Beekeeping has a significant upfront investment. While costs vary, a realistic budget for a single-hive setup is as follows:
| Item | Estimated Cost (USD) |
|---|---|
| Full Protective Suit | $100 – $180 |
| Smoker and Hive Tool | $40 – $60 |
| Complete Langstroth Hive | $150 – $250 |
| Nucleus Colony (Nucs) | $160 – $220 |
| Essential Books/Classes | $50 – $100 |
| Total Initial Investment | $500 – $810 |
Note: It is highly recommended to start with two hives. This allows you to compare their progress and share resources (like brood or honey) if one colony is struggling.
Time Commitment and Maintenance Schedule
Beekeeping is not a “set it and forget it” hobby. It requires consistent, seasonal attention.
Spring: The Busy Season
You will spend 1–2 hours per week per hive. Tasks include feeding new colonies, checking for queen cells (to prevent swarming), and adding honey supers as the nectar flow begins.
Summer: Monitoring
Inspections drop to once every two weeks. You are primarily monitoring for pests, ensuring the bees have water, and checking that the queen has enough space to lay.
Fall: Preparation for Winter
This is the most critical time for survival. You must ensure the bees have enough honey stores (usually 60–80 lbs, depending on the climate) and treat for mites one last time.
Winter: Hands-Off
During winter, you rarely open the hive. Your job is to check the hive’s weight by lifting the back and to provide emergency sugar candy if they run low on food.
Final Thoughts on Starting Your Apiary
Gathering what you need before keeping bees is a process that should begin months before spring. By securing your gear, choosing a strategic location, and committing to ongoing education, you transform from a casual observer into a guardian of one of nature’s most vital pollinators.