
Choosing the best hive setup for beginners is the most critical decision you will make in your first year of beekeeping. The right equipment determines how easily you can manage your bees, how much honey you harvest, and whether your colony survives the winter. For most new beekeepers, the 10-frame Langstroth hive remains the gold standard due to its modular design and universal parts.
What is the Best Hive Setup for Beginners?
The best hive setup for beginners is a 10-frame Langstroth hive consisting of two deep hive bodies for the brood nest and two medium supers for honey storage. This configuration provides ample space for the queen to lay eggs and ensures the bees have enough food reserves for cold months. Using standardized equipment allows you to swap frames between hives and find replacement parts easily at any local supply store.
Comparing the Most Popular Hive Types
Before purchasing equipment, it is essential to understand the various philosophies underlying hive designs. Each style offers unique benefits depending on your physical strength and goals.
1. The Langstroth Hive (The Industry Standard)
The Langstroth hive is the most recognizable vertical box system. It relies on “bee space,” a specific gap that prevents bees from gluing parts together with propolis.
- Pros: Highly customizable, widely available, and produces the most honey.
- Cons: Heavy lifting is required to move full honey boxes.
2. The Top Bar Hive (The Horizontal Approach)
This setup uses a long, horizontal trough in which bees build a comb that hangs from individual wooden bars. It is often preferred by those who want a more “natural” look.
- Pros: No heavy lifting and easier on the back.
- Cons: Harder to manage during winter and produces less surplus honey.
3. The Flow Hive (Simplified Harvesting)
The Flow Hive is a modified Langstroth that uses a specialized frame to extract honey without opening the hive or disturbing the bees.
- Pros: Mess-free harvesting and less invasive for the colony.
- Cons: Significantly higher initial cost and requires standard beekeeping knowledge to maintain colony health.
Essential Components of a Beginner Hive
A complete hive is more than just a wooden box. It is a complex housing system designed to regulate temperature and humidity.
The Screened Bottom Board
A screened bottom board provides essential ventilation. It also allows Varroa mites—a common pest—to fall through the mesh and out of the hive, helping to naturally manage infestation levels. According to research from the Honey Bee Health Coalition, monitoring mite levels is vital for colony survival.
Deep Hive Bodies (The Brood Chamber)
This is the hive’s nursery. Most beginners should start with two deep boxes. This is where the queen lives and where the workers raise new bees and store pollen.
Medium Supers (The Honey Kitchen)
When the bees fill the deep boxes, you add “supers” on top. Using medium-sized boxes for honey is a smart move for beginners because a full medium box weighs about 35-40 pounds, whereas a full deep can exceed 80 pounds.
Frames and Foundation
Frames hold the wax or plastic sheets where bees build their honeycomb. For those starting, plastic foundations coated in beeswax are often recommended because they are durable and easier to handle during inspections.
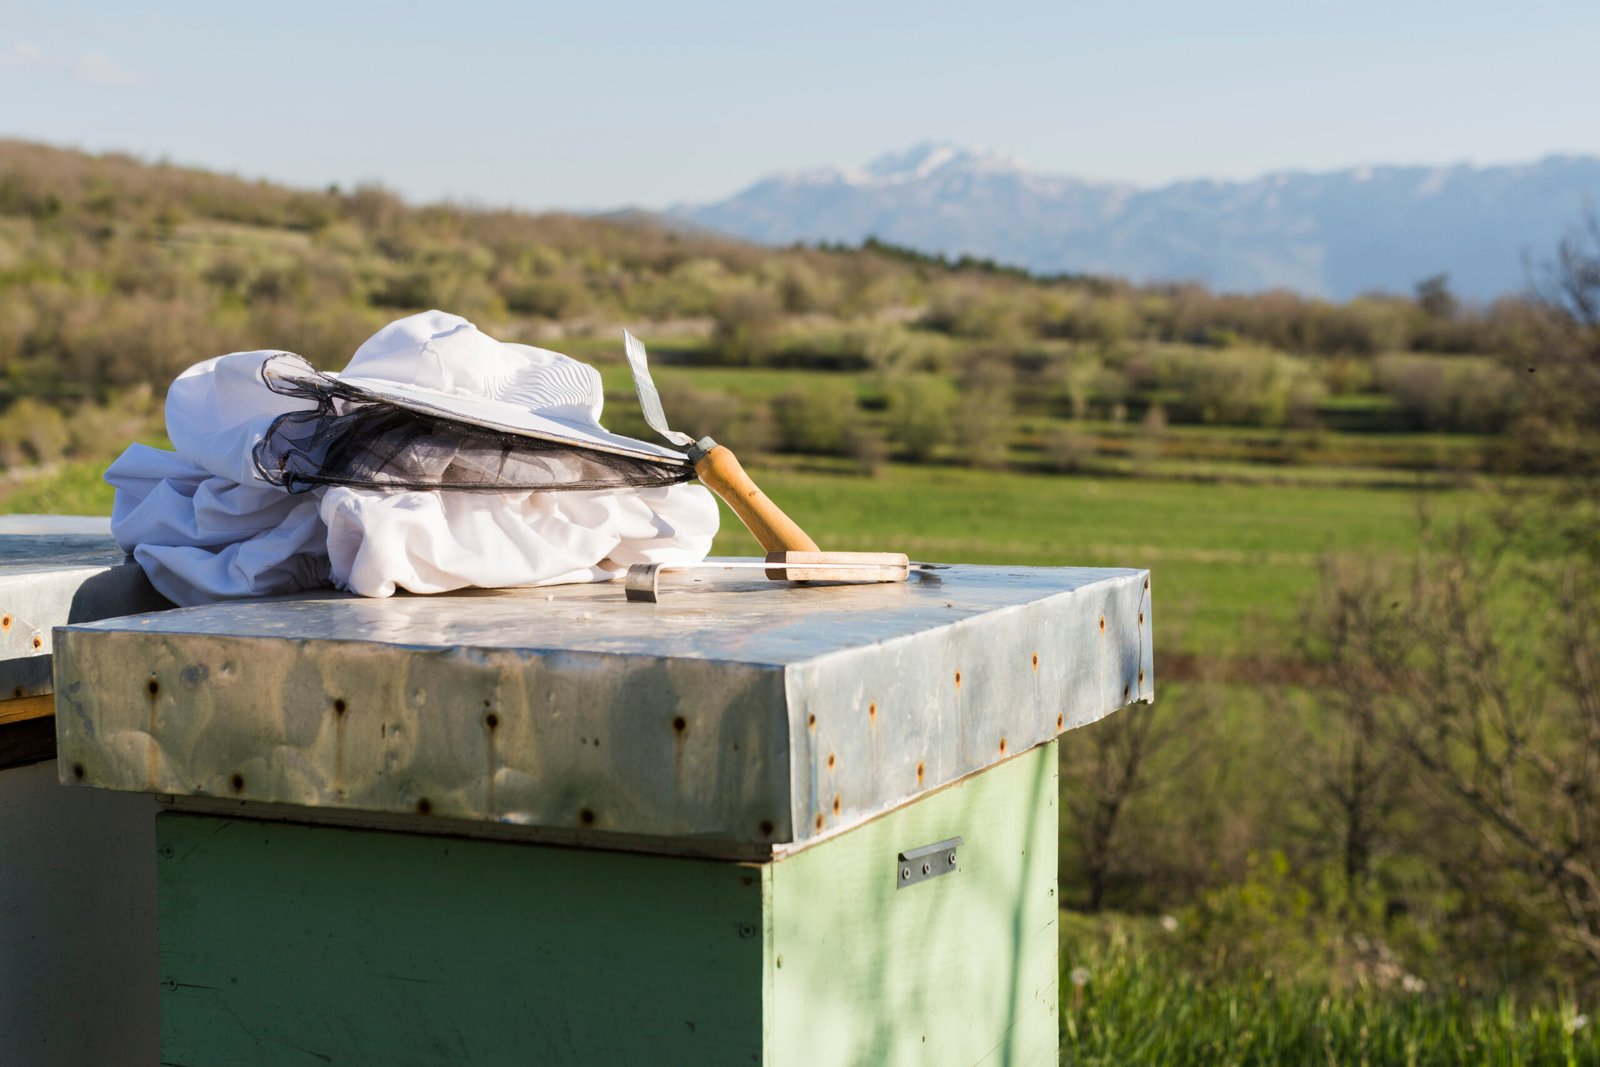
Vital Beekeeping Tools for Your First Season
Beyond the hive itself, you need a specific set of tools to interact with your bees safely.
| Tool | Purpose | Why Beginners Need It |
|---|---|---|
| Smoker | Calms the bees | Essential for safe hive inspections. |
| Hive Tool | Pries apart frames | Bees use propolis (bee glue) to seal everything shut. |
| Bee Veil/Suit | Protection | Prevents stings and builds confidence during early handling. |
| Bee Brush | Moves bees gently | Useful for clearing bees off a frame during harvest. |
Selecting the Perfect Location for Your Apiary
The success of the best hive setup for beginners depends heavily on where you place it. A poor location can lead to a grumpy colony or high moisture levels.
Sunlight and Orientation
Hives should face East or Southeast. This allows the morning sun to warm the entrance, encouraging the bees to start foraging earlier in the day. Ensure the hive receives at least 6 to 8 hours of direct sunlight to help prevent hive beetles.
Wind Protection and Water Access
Strong winds can chill a hive and make it difficult for bees to land. Placing your hive near a fence or a line of shrubs provides a natural windbreak. Additionally, bees need water to cool the hive; provide a shallow birdbath with stones for them to land on so they don’t drown.
Legal and Social Considerations
Always check local zoning laws regarding honeybees. It is also wise to speak with neighbors. Most people are happy to have pollinators nearby once they understand that honeybees are generally docile when left alone.
How to Source Your First Honeybee Colony?
You have two primary options for getting bees into your new setup: Nucleus colonies (Nucs) or Package bees.
- Nucleus Colonies (Nucs): This is a “mini-hive” that includes five frames of drawn comb, a queen, and bees of all stages. This is the best choice for beginners because the colony is already established and growing.
- Package Bees: A box of loose bees with a caged queen. While cheaper, it takes them longer to build a comb and start growing.
You can find reputable breeders through organizations like the American Beekeeping Federation.
The Importance of the Entrance Reducer
Many beginners overlook the entrance reducer. This small wooden strip limits the hive’s opening. In the early spring or fall, a smaller entrance is easier for a young colony to defend against “robber bees” or wasps looking to steal their honey stores.
Managing Moisture with an Inner Cover
Proper airflow prevents condensation from dripping onto the bees during winter. The inner cover creates a dead-air space that acts as insulation. Always ensure the notch in the inner cover faces up or forward to allow moisture to escape from the top of the hive.
Maintenance Schedule for Your First Year
Owning the best hive setup for beginners requires consistent monitoring, especially in the first six months.
- Early Spring: Install your bees and feed them sugar syrup to help them build wax quickly.
- Late Spring/Summer: Inspect the hive every 7-10 days. Look for the queen, check for eggs, and ensure they have enough space.
- Late Summer: Treat for Varroa mites. This is the period when pest populations often peak.
- Fall: Ensure the hive has at least 60-80 pounds of honey stored for winter. If they are light, provide heavy sugar syrup.
Common Mistakes to Avoid
Even with a great setup, beginners often fall into common traps.
- Opening the hive too often: Each time you open it, it takes the bees hours to regulate the temperature again. Stick to a weekly schedule.
- Not wearing gear: Even “gentle” bees can become defensive during certain weather conditions. Always wear at least a veil.
- Skipping mite treatments: This is the number one cause of colony collapse for new keepers. Follow a science-based pest management plan.
Summary of the Ideal Starter Configuration
To recap, the most effective and manageable way to start is:
- Two 10-Frame Langstroth Deep Boxes.
- Two 10-Frame Medium Honey Supers.
- A Screened Bottom Board.
- A Telescoping Outer Cover.
- A Nucleus (Nuc) colony from a local source.
By focusing on these components, you give your bees the best chance to thrive while keeping your learning curve manageable. Beekeeping is a rewarding journey that connects you with the environment in a profound way. With the right gear and a commitment to learning bee biology, you will enjoy the sweet rewards of your labor for years to come.