If you’ve been dreaming of a reclaimed wood accent wall but dreading the mess, the cost, or the complexity, Stikwood might be exactly what you’ve been waiting for.
These peel-and-stick planks made of real wood let you add significant texture and warmth to any space without hiring a professional or renting a nail gun. Each plank is approximately ¼” thick, crafted from authentic wood, and features three durable adhesive strips on the back: Peel, place, and press.
The outcome? A wall (or ceiling, or kitchen island) that appears to have taken a crew a week to install, but can be completed by a dedicated DIYer in just one day.
Below are five inventive methods to incorporate Stikwood into your home, along with useful tips to achieve optimal results.
1. The Classic Bedroom Accent Wall
The accent wall in the bedroom is where Stikwood gains the majority of its followers, and there is a valid reason for that. A single plank wall positioned behind the headboard changes a simple room into a space that appears purposeful and thoughtfully crafted.
The varying tones and natural grain patterns in styles like Reclaimed Weathered Wood or Hamptons give the wall depth that paint can’t replicate.
Installation tip: Begin your first plank at the angle if your wall features a slanted ceiling line, such as in an attic bedroom. Since working against a diagonal leaves little room for error, ensure the first row is perfectly level using a laser level before proceeding.
A Red Cross Line Laser Level is especially helpful in this situation because it projects a continuous line across the entire wall, keeping every subsequent row straight.
Allow your planks to acclimate in the room for 72 hours before installation. Wood reacts to humidity, and giving it time to adapt to its surroundings beforehand helps prevent warping or lifting once mounted.
2. A Statement Ceiling
Ceilings are often the most neglected surface in a home, yet they offer one of the most striking opportunities to incorporate wood planking. Stikwood can be applied to ceilings provided the surface is smooth and flat. If there is any texture, it should be sanded down beforehand to ensure the adhesive adheres effectively.
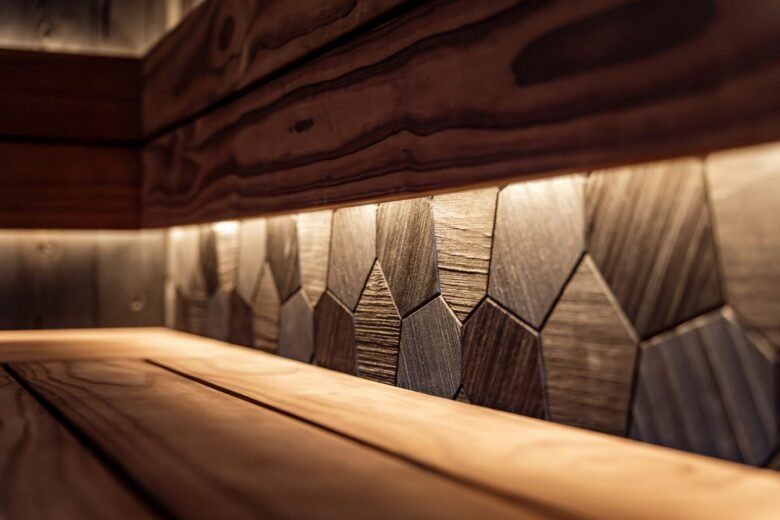
The way you run the planks is more important on a ceiling than anywhere else. Running them lengthwise directs the eye toward the centre and enhances the room’s height. A chevron or herringbone pattern forms a striking focal point overhead, drawing people’s attention.
For rooms with low ceilings, a light wood finish, such as Reclaimed Weathered Wood White, reflects light upward, preventing the space from feeling cramped. For cosy rooms that crave warmth, a darker style like Reclaimed Barrel Oak adds richness without overpowering the space.
3. Kitchen Islands, Bars, and Cabinets
Not every Stikwood project has to be a complete wall. Some of the most remarkable changes include small, focused applications, and the kitchen is filled with such opportunities.
Island and bar fronts are perfect options. The vertical surface of a kitchen island is often overlooked, remaining plain white or in basic builder-grade cabinetry. Adding a few rows of Stikwood planks on the sides transforms it into the room’s centrepiece.
The Reclaimed Weathered Wood style is especially suitable here because its combination of grey, brown, and white tones complements almost any countertop material.
Another underused option is cabinet faces. Smooth cabinet doors allow adhesive to adhere cleanly, and choosing the right wood finish can transform a kitchen from basic builder style to farmhouse chic or warm artisan. Once the planks are installed, adding new hardware completes the transformation.
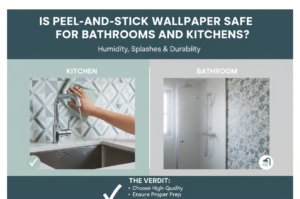
For areas near moisture, such as a kitchen backsplash, Stikwood offers Splash Safe Protectant, which coats both sides of each plank. The minor extra expense is justified for reassurance in a frequently used space.
4. Entryways and Fireplace Surrounds
First impressions are important, and a foyer featuring a Stikwood accent wall or a planked archway conveys an intriguing sense of the home before guests enter. A partial application that covers only half the wall height or only the archway can be equally impactful as full coverage and uses significantly less material.
Fireplace surrounds and mantels are another area with a strong visual impact. The mantel itself can be covered with planks to unify colours from the rest of the room or to add an organic texture that contrasts with the surrounding tile or drywall.
Styles such as Reclaimed Rustic Slate or Reclaimed Barrel Oak are especially impactful here, providing the cosy feel of a cabin hearth without requiring any masonry work.
When you have art niches above a fireplace or along hallway walls that seem like space, Stikwood enhances them wonderfully, whether left plain or used as a background for artwork.
5. Furniture Makeovers with Stikits
Stikwood’s Stikit line expands the peel-and-stick idea to furniture. It is one of the most underrated methods to utilise the product. Pre-cut and pre-measured kits are offered for particular applications, eliminating much of the guesswork.
Headboards are a notable example. A thrifted headboard or a blank wall-mounted frame gains a completely new look when covered with Stikwood planks. Stikits designed for headboards even come with wall-mounting hardware.
IKEA furniture hacks come with dedicated kits designed to fit the LACK coffee table, end tables, and floating shelves. This is a simple method to transform flat-pack furniture into pieces that appear custom-made.
Stikits can also be used to build barn doors, offering four style options that mimic the natural imperfections of knots, grain variation, and the weathered finish that make authentic barn wood so attractive.
For nightstands or end tables with surface scratches and wear, applying Stikwood to the top or sides conceals the damage and transforms the piece with a completely new character.
Practical Tips Before You Start
1. Get a suitable roller
The adhesive requires consistent, firm pressure over the whole plank to bond properly. A rubber roller with a metal or wooden core can withstand repeated use; a cheap plastic roller may warp due to the heat produced during rolling. Stikwood offers its own roller, which is worth considering.
2. Plan your cuts.
You will need to trim the final plank in each row and navigate around outlets, switches, and ceiling lines. A mitre saw makes clean, straight cuts. For outlets, mark the cutout on the back of the plank, use a jigsaw to cut it out, and always turn off the power before pulling the outlet box through the opening.
3. Order extra
The wood planks differ in colour and grain throughout the batch. Having extras lets you choose the pieces you prefer, conceal less appealing boards behind furniture, and keep spares in case one breaks during installation (it happens).
4. Ventilate the area
Newly unpacked planks emit a subtle wood scent. Keep a window open during your work; the smell dissipates rapidly.
Begin with a straight line, and maintain straightness. A single uneven row causes misalignment in all subsequent rows. Whether you begin at the floor, the baseboard, or a ceiling corner, check the level before removing the adhesive backing.
Summary
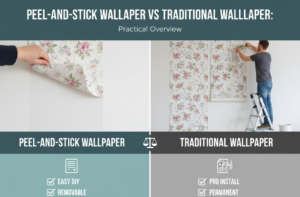
Stikwood occupies a truly practical middle ground: it is authentic wood, not a vinyl or paper imitation, and it can be installed much more quickly than traditional planking. Whether you’re updating a bedroom wall, renovating a kitchen, or enhancing furniture, the main attraction remains the same natural texture and warmth, without the project becoming a week-long challenge.
Frequently Asked Questions
Can Stikwood be removed without damaging the wall?
Stikwood is intended for permanent installation. The adhesive is powerful, and removing it might peel paint or drywall paper. If you’re worried about damaging your wall, try a small test area first or check Stikwood’s latest instructions on their website.
What quantity of material is required?
Calculate your wall’s area in square feet (width × height) and add 10–15% to account for waste and trimming. For walls with outlets, windows, or sloped ceilings, consider adding an extra 15–20%.
Is Stikwood suitable for use in bathrooms?
Standard planks are not advised for areas with high moisture unless they are treated. The Splash Safe Protectant sealant from Stikwood makes the planks suitable for backsplashes and bathrooms.
Does it function on textured walls?
No, Stikwood needs a smooth, flat surface. Textured walls must be skimmed and sanded before applying the adhesive for proper adhesion.
Can I paint Stikwood after installing it?
Stikwood is meant to be used in its natural state; the natural wood grain is the main feature. Painting over it would undermine its purpose. If you prefer a specific colour tone, select the appropriate style when purchasing rather than painting afterwards.